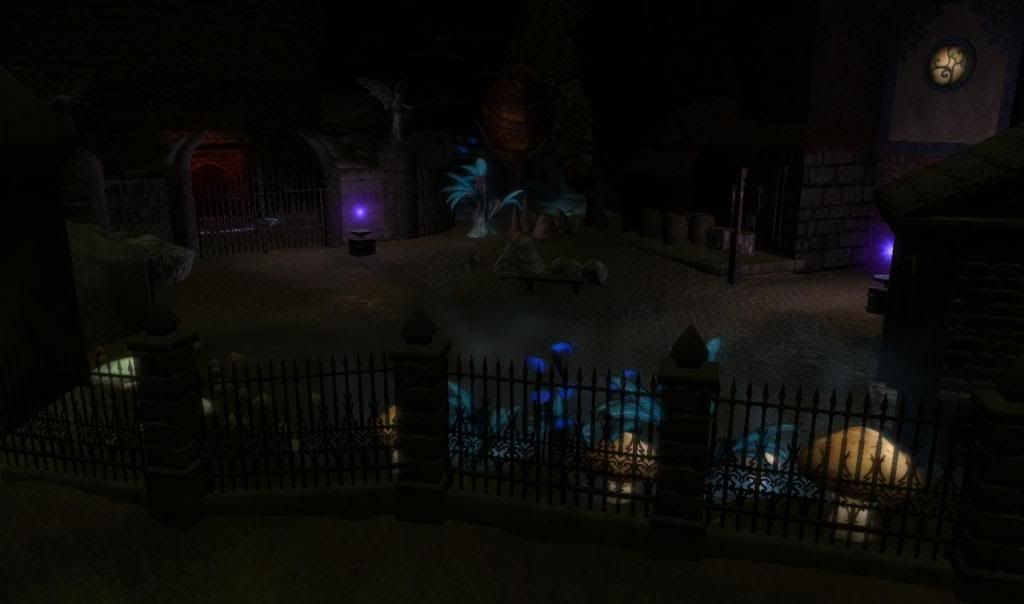
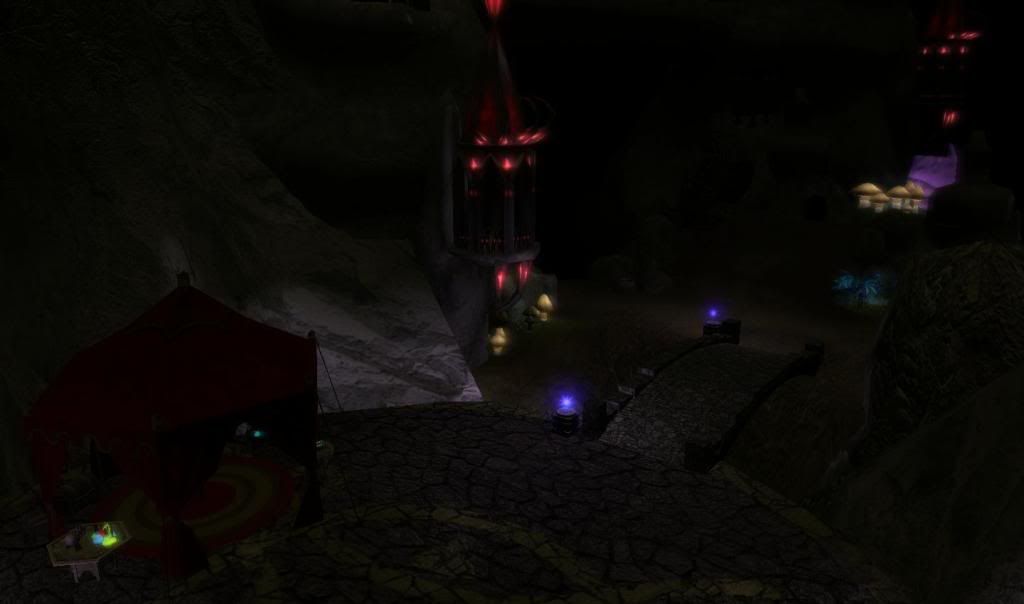
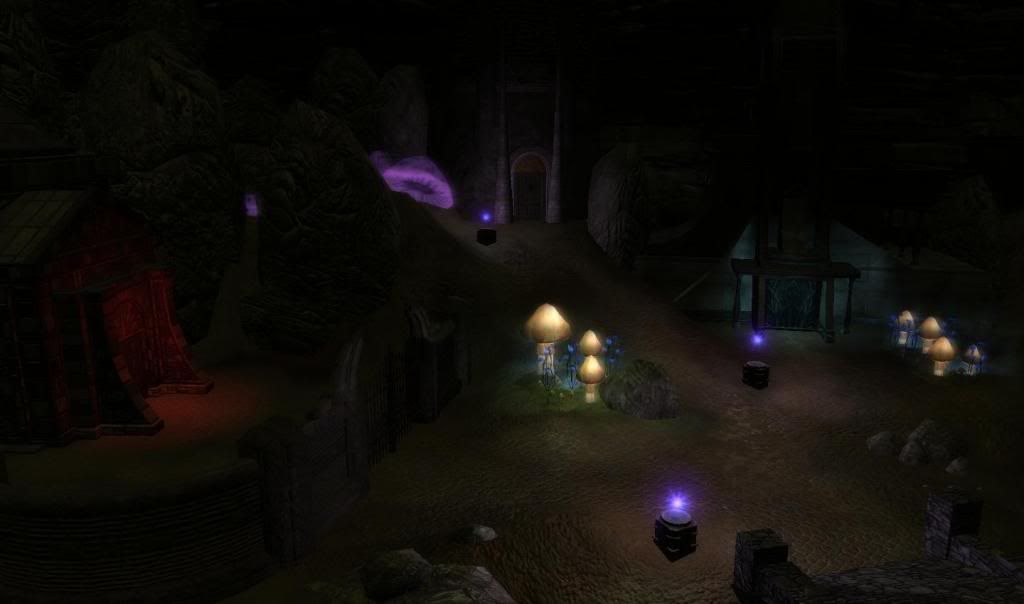
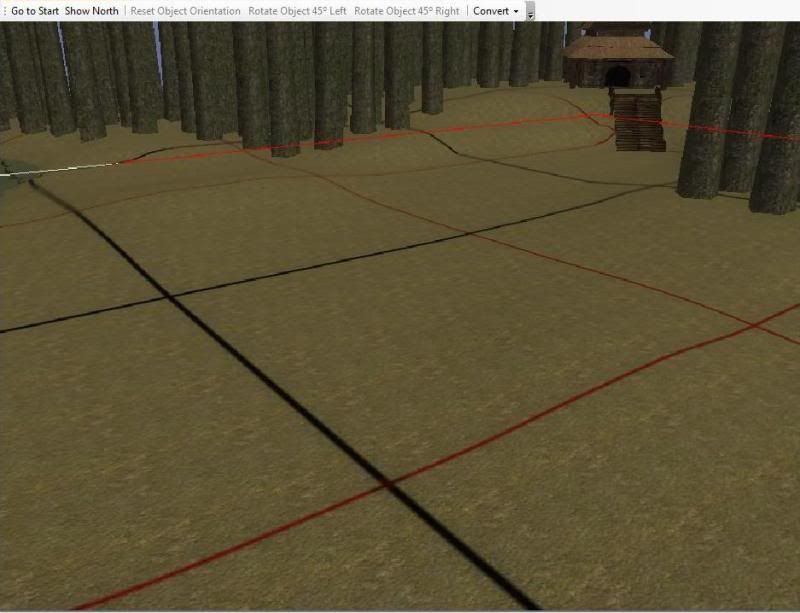
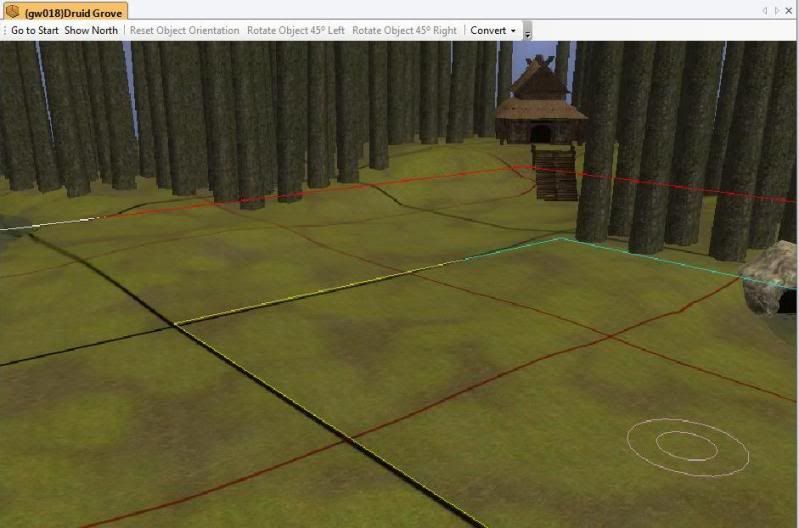
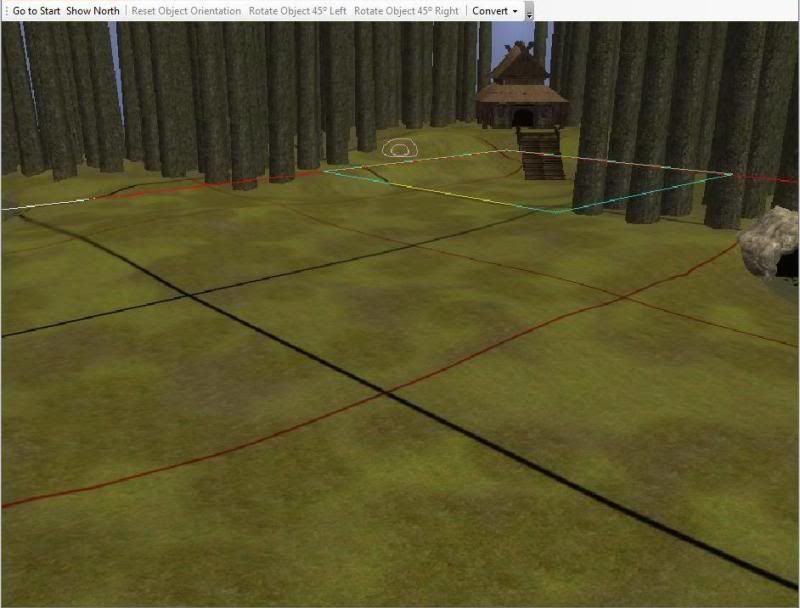
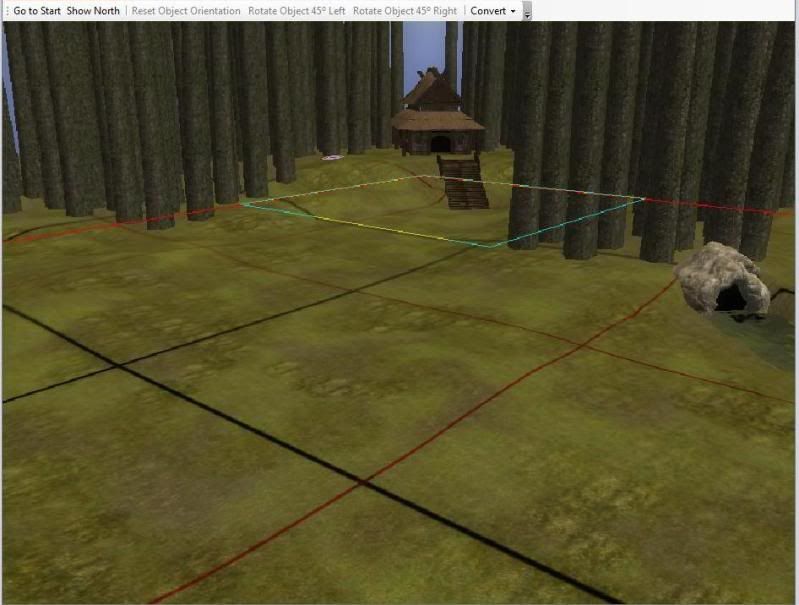
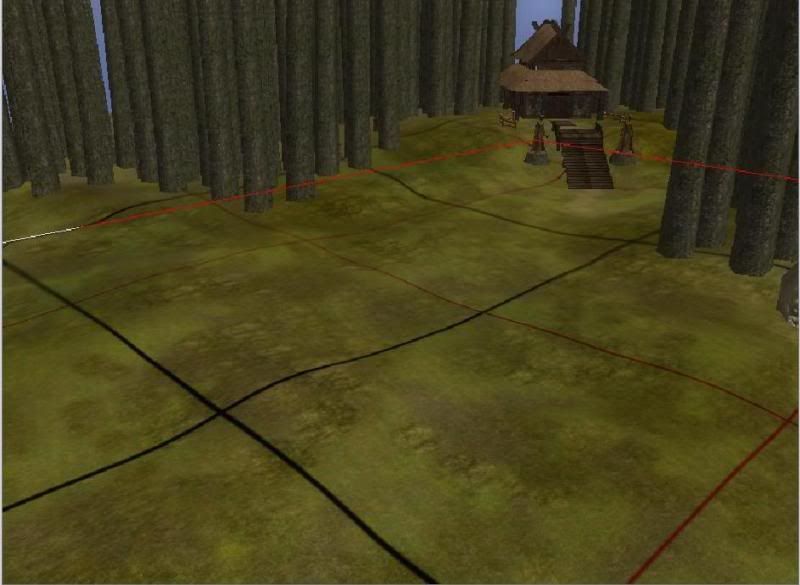
Sin had mentioned he had seen a way to do larger scale interiors that actually used interiors rather than the usual way of making an exterior look like an interior. It seems if you use one of the walkmesh helpers in the toolset and lift it above the ceiling of a normal interior you can then build above it.
Its quite a neat idea as it allows you to get some height into these areas and do something a little different. I tried it out tonight with a new underdark area called the Tower of Bone, the results are below:
Thursday, 31 January 2013
Sunday, 20 January 2013
One for Cormyr.
Sschindylryn
Well after my plug for the PW Forgotten Realms Cormyr I had a few more chats with Sin the Admin for the server and decided to throw my lot in with him. I had been planning on taking my copy of the old server I helped build and put it onto the vault as I think it deserved better than just having all that work die off. The excellent work by E.V with scripts and GUI's especially should be showcased a lot more.
Anyway with myself joining FRC I offered Sin the module to rip apart and use what he wants, mostly interiors as he has nearly all of his exteriors built for the initial launch. Keeping each part of Cormyr with the same feel is something we need to try to do and my areas do have a different feel to his. Hopefully Ill get some exteriors up at a later date after we go live, I really want to get back to doing some mountian areas!
On Gray Isles I did have a large underdark though outside of the Grimmhold I was largely unhappy with the wilderness areas so they are getting a revamp to make them a lot more interesting! As the Underdark under Cormyr is not well known in terms of lore it does leave us a good amount of freedom in what we do. What we do know is we have the following points of interest:
Sschindylryn - Drow Trade City
Blessed Seahaven - Kuo-Tuo Temple
Lake of Shadows - A lake (clue is in the name!)
I have started work on the Drow City of Sshindylryn (try saying it fast 3 times). Chatting with Sin gave me a few ideas as coming up with something with a "drow" feel can be hard at times. I am probably 90% through mapping the exterior at the moment so Ill give you a few sneak peeks!
Still a lot of work to go as all the interiors have to be done but it should be a place our evil little drow want to hang out.
Sunday, 6 January 2013
Cormyr
The Road to Cormyr
I found out about this place through the Bioware NWN2 boards, it has the making of being a very nice PW even if it seems hardly anyone knows about it! Sin who is the the host, owner, scripter and builder all rolled into one has done a good job getting the place to the stage it is and if he is to be believed soon into a closed beta.
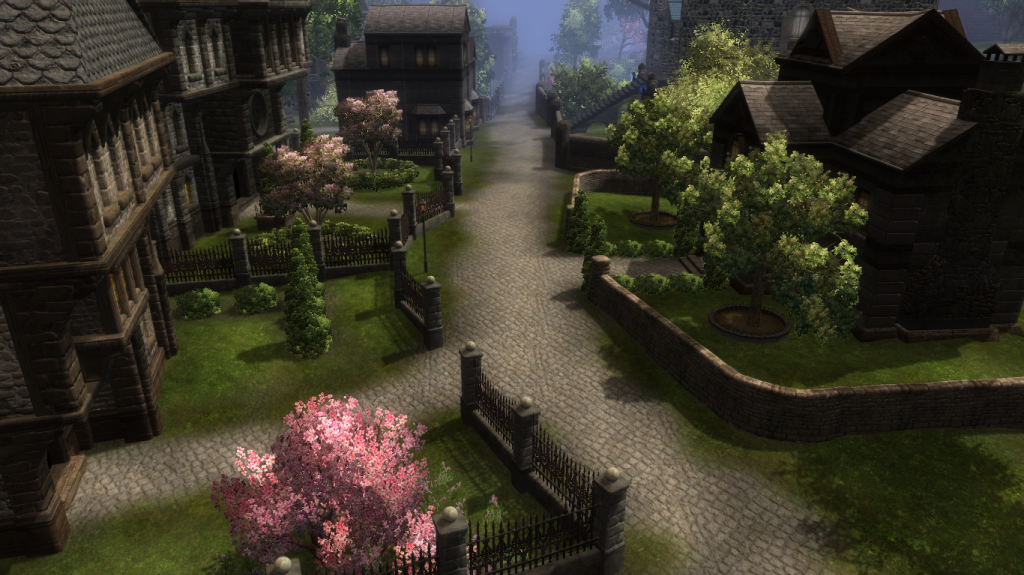
As you can see from the screenshots its going to be a good looking place to look around, which is going to be better than most bland looking PWs and that's always a plus. What will of course make or break a place is how he sets it up, in my own opinion too many PWs are pretty much the same as each other. Outside of a few places nothing is new or fresh, everyone seems to have the same systems and game idea. In fact too many of them are just into a numbers game instead of trying to build something special and push the game engine.
With not having a PW of my own to work on at the moment I have helped Sin out with a few interiors for him to populate with nasties looking to eat you!
Hopefully I can feature more of his world as it gets nearer completion.
Vist Cormyr and check it out.
Monday, 24 December 2012
Giving the elves a place of their own
Wood Elf Village
Poor elves, they never seem to get a place to call home. I have finally got around to doing something I have promised to do for a while, a elven village deep into the woods.
The is only the first part of it though as I want to have half of it in the trees, a home any tree hugger would be glad to call home. I'll make no bones about it though, I was heavily influenced by the work of "Ash Darkwwod" who did a lot of the building on Necrosis and Sundren many moons ago. She really inspired and helped me when I was taking my first steps in the toolset.
Looking down over the firepit towards the portal.
A shot back into the camp, both of the watch towers can be climbed
Looking up the trail from the gates.
A shot from inside the gates towards the trail.
The campfire seen from the other direction
Friday, 21 December 2012
Woodland Trail
I added a set of three wooded areas to the Neverwinter Nexus tonight. The idea behind them originally was to do a small part of the Moonwood of the Silver Marches. I have always struggled with evergreen types of trees in woods as it takes so many of them to make the woods look dense.
The module can be downloaded here:
The Woodland Trail
I think I have managed to pull of a decent looking wooded trail though I am still not sure its exactly what I wanted to do.
Thursday, 29 November 2012
Textures
Textures
Textures and colours are really what makes and breaks a area. Good use of either can really change how a area will look and give it a completly different feel. I am going to use as an example a demo I did for the Greenwood in the Gray Isles Server.
For the Greenwood I am aiming for a overgrown forest that makes you feel you are deep into the woods.
I changed the default grass to dirt_05 and then cover it over with grass_37 at 30% pressure. I then use a large brush and randomly brush over the area at 40% pressure with grass_37 so the whole thing looks patchy. I then select grass_14 and using a medium brush size again set to 30% pressure I repeat the process. Once that is done I go to a medium brush size and up the pressure to 40% and again randomly move over the area leaving patches of grass till I have an effect like this:
I then break out grass_37 again this time setting the pressure to around 60% and randomly move over the area again creating a more patchwork apperance. While all this takes time is does allow you to build a very well broken up set of textures without the repeating patten you get from using just one texture.
Next I move onto blight_06 again starting with a low pressure and building the pressure with each pass. I usually start as low as 20% pressure and finsh around 50% in small patches. Eventually ending up with something like this:
After that I introduce grass_38 at around 40% pressure in a few places to provide a even more broken surface. Sometimes I will go back and use one of the other grass textures over places I think the blight is showning through too much. In reality its all about personal taste in how much time you invest in this part of the area. Having done quite a few Greeenwood areas I can do this pretty quickly now as I am wotking from a standard pallet. If I was doing a "new" type of area like a mountian etc there would be a lot of trial and error in the process.
Well I now have a nice look textured ground, the next step is to vary it a little more with some use of the colour options found under terrain. Its very easy to overdo the part and its default pressure of 50% is too high for the effect I am after. I usually go with 10% and a very light touch of the brush. Sweeping moves over the ground and not lingering in any one spot for too long as the colour will rapidly overwhelm the effect we are looking for.
This is how the area looks after a brush over with a wash of brown and green. Again patchwork is the effect we are looking for.
Textures and colours are really what makes and breaks a area. Good use of either can really change how a area will look and give it a completly different feel. I am going to use as an example a demo I did for the Greenwood in the Gray Isles Server.
For the Greenwood I am aiming for a overgrown forest that makes you feel you are deep into the woods.
I changed the default grass to dirt_05 and then cover it over with grass_37 at 30% pressure. I then use a large brush and randomly brush over the area at 40% pressure with grass_37 so the whole thing looks patchy. I then select grass_14 and using a medium brush size again set to 30% pressure I repeat the process. Once that is done I go to a medium brush size and up the pressure to 40% and again randomly move over the area leaving patches of grass till I have an effect like this:
I then break out grass_37 again this time setting the pressure to around 60% and randomly move over the area again creating a more patchwork apperance. While all this takes time is does allow you to build a very well broken up set of textures without the repeating patten you get from using just one texture.
Next I move onto blight_06 again starting with a low pressure and building the pressure with each pass. I usually start as low as 20% pressure and finsh around 50% in small patches. Eventually ending up with something like this:
After that I introduce grass_38 at around 40% pressure in a few places to provide a even more broken surface. Sometimes I will go back and use one of the other grass textures over places I think the blight is showning through too much. In reality its all about personal taste in how much time you invest in this part of the area. Having done quite a few Greeenwood areas I can do this pretty quickly now as I am wotking from a standard pallet. If I was doing a "new" type of area like a mountian etc there would be a lot of trial and error in the process.
Well I now have a nice look textured ground, the next step is to vary it a little more with some use of the colour options found under terrain. Its very easy to overdo the part and its default pressure of 50% is too high for the effect I am after. I usually go with 10% and a very light touch of the brush. Sweeping moves over the ground and not lingering in any one spot for too long as the colour will rapidly overwhelm the effect we are looking for.
This is how the area looks after a brush over with a wash of brown and green. Again patchwork is the effect we are looking for.
Saturday, 17 November 2012
Hobson's Landing on the Nexus
I finished the interiors of Hobson's landing a few days ago and uploaded it onto the Neverwinter Nexus, I used to use the nwvault for my stuff but I think the Nexus is a far better place at the moment for people to upload their content. The big plus is you don't have to wait while the upload is approved.
If you want to download the area and look around then head to the nexus:
Hobson's Landing at the Nexus
I finished the interiors of Hobson's landing a few days ago and uploaded it onto the Neverwinter Nexus, I used to use the nwvault for my stuff but I think the Nexus is a far better place at the moment for people to upload their content. The big plus is you don't have to wait while the upload is approved.
Hobson's Landing at the Nexus
Subscribe to:
Posts (Atom)